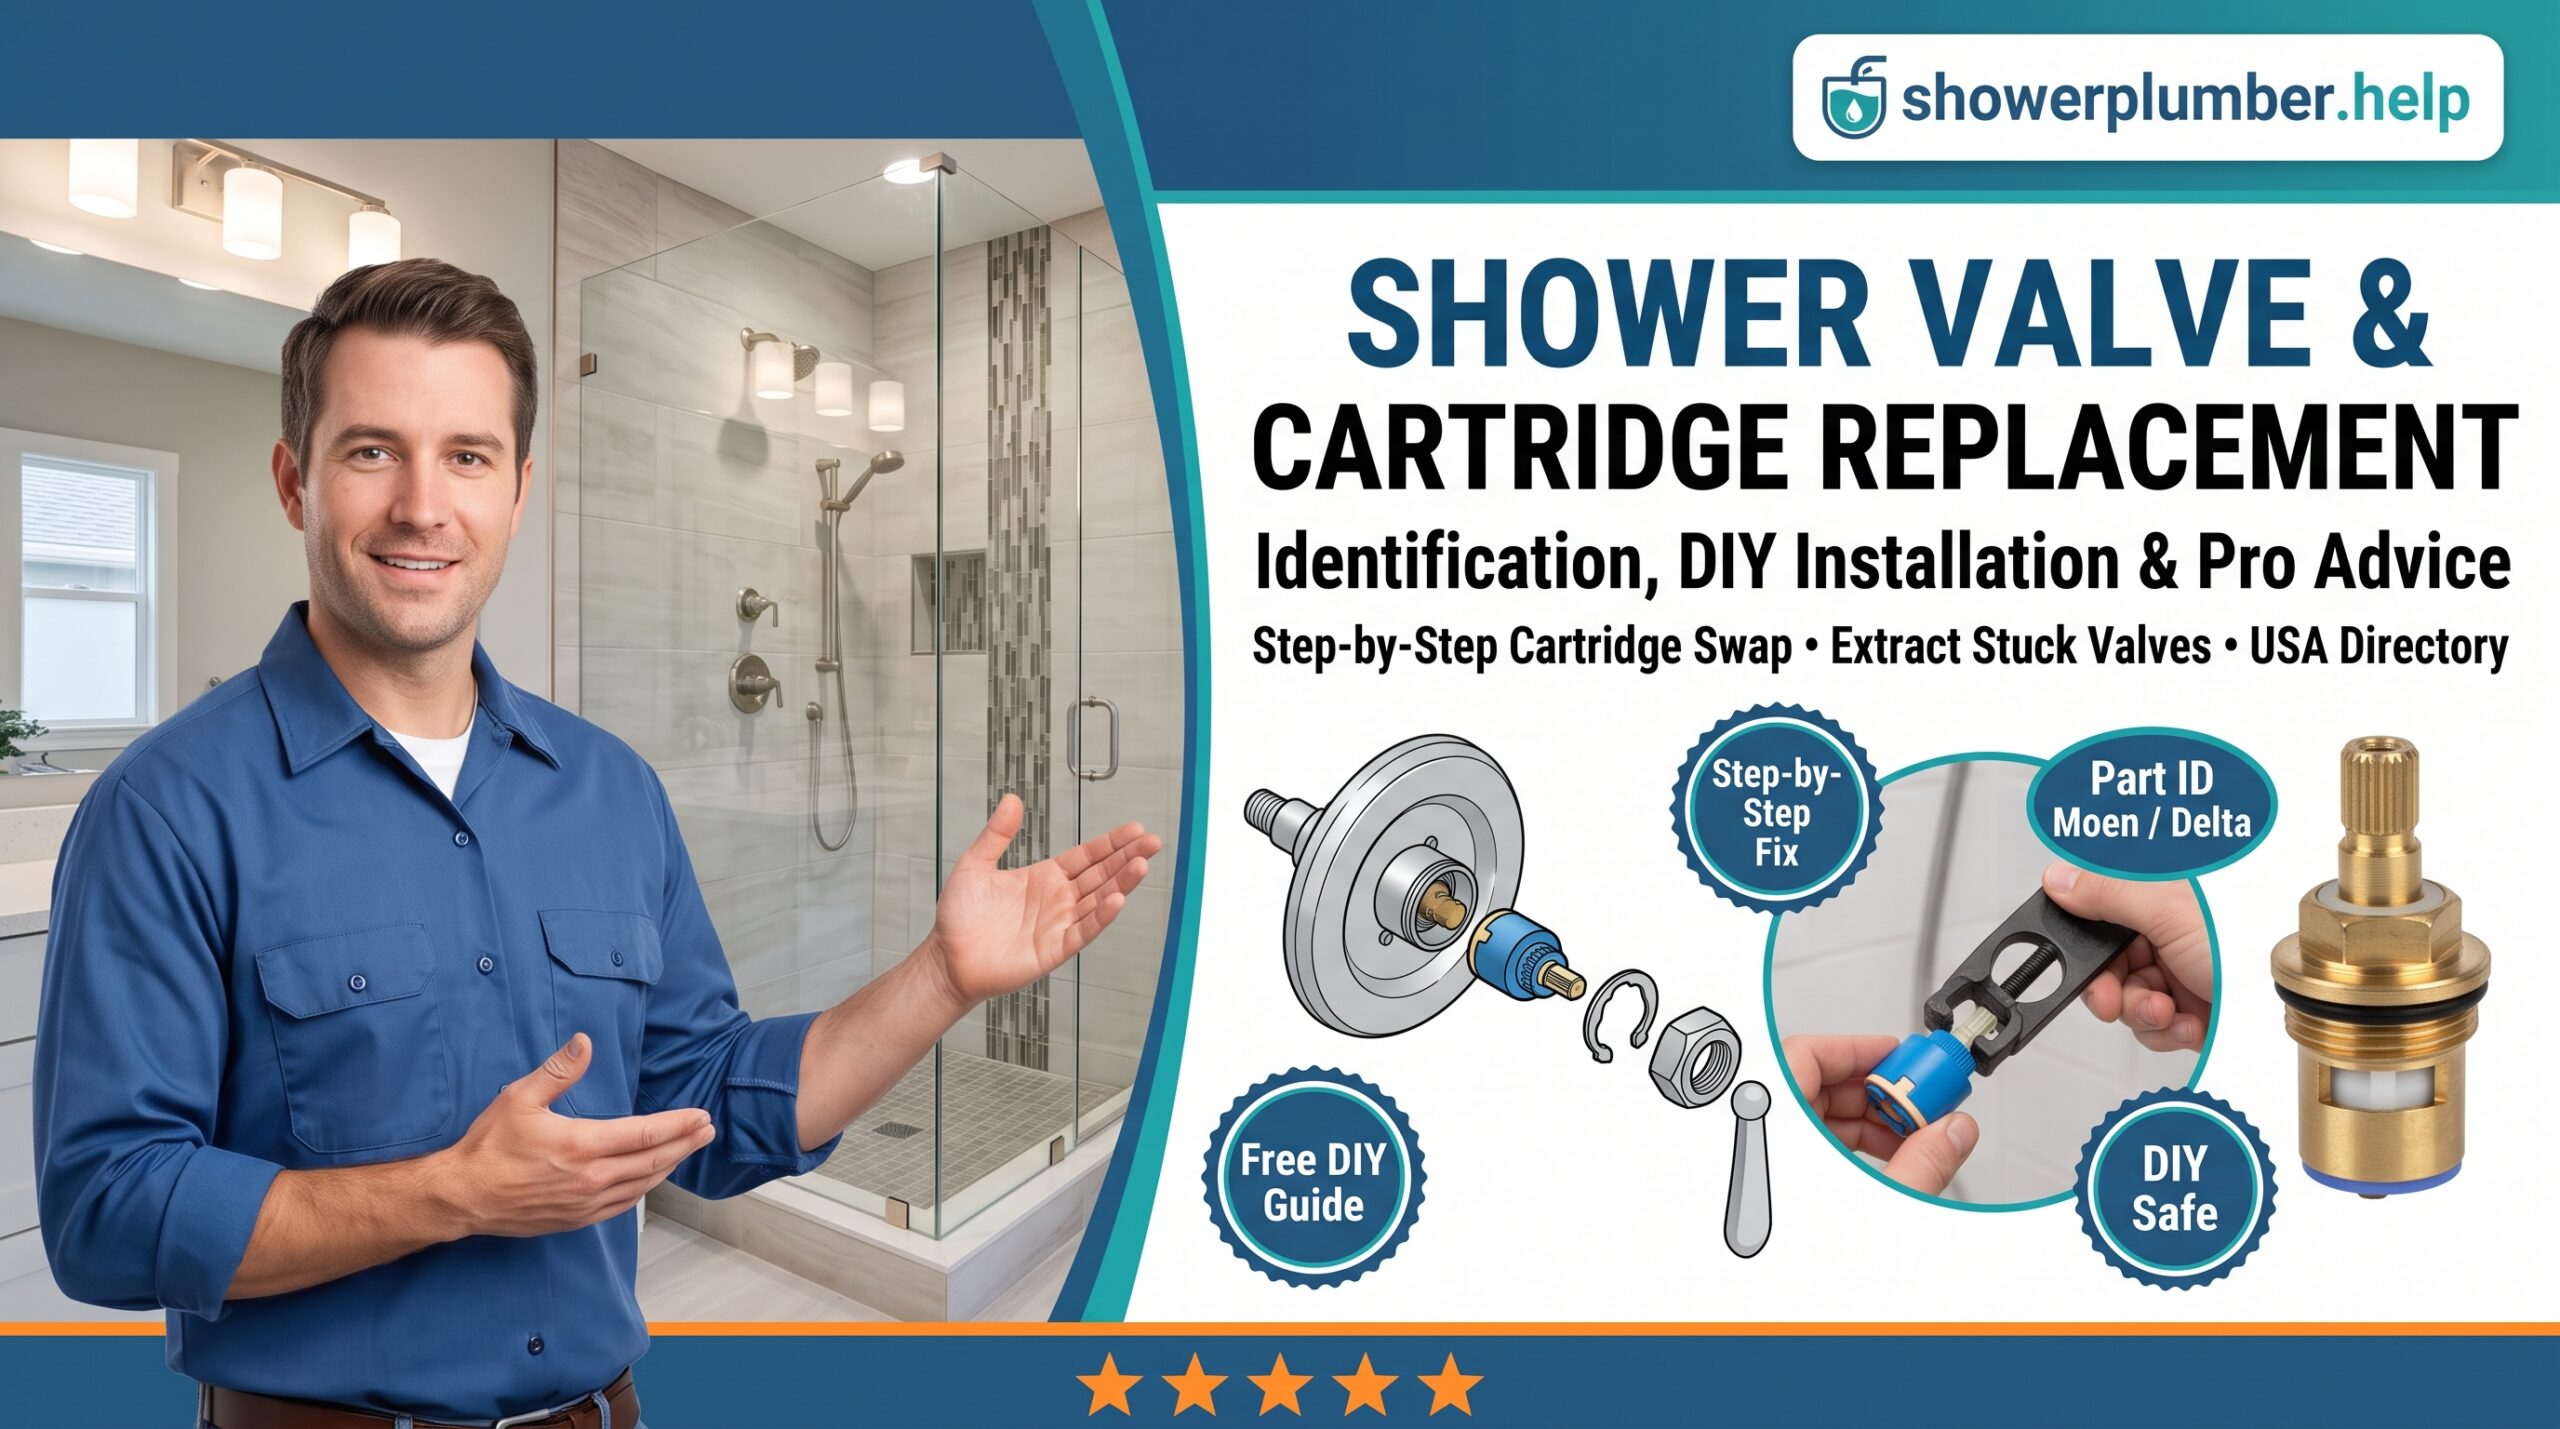
A dripping showerhead, a stiff handle, or sudden blasts of scalding water are almost never caused by a broken showerhead. In more than 90% of bathroom faucet failures, the culprit is a degraded, calcified, or ruptured shower valve cartridge hidden inside your wall.
Replacing a shower cartridge is one of the highest-value DIY plumbing skills a homeowner can master. In this comprehensive guide, we cover cartridge identification across major US brands, the exact tools you need, step-by-step replacement instructions, how to free seized brass stems safely, and when in-wall complications require hiring a licensed plumber.
Common Symptoms of a Failing Shower Valve Cartridge
🚿 Unstoppable Drips & Leaks
Water constantly trickling from the showerhead or tub spout when the lever is in the “off” position indicates worn internal O-rings, flattened rubber grommets, or a scored cartridge cylinder allowing line pressure to bleed through.
🌡️ Temperature Swings & No Hot Water
If you only receive lukewarm water, no hot water at all, or experience sudden scalding shocks when someone runs water elsewhere, the internal pressure-balancing shuttle has frozen due to hard water mineral buildup.
🔒 Stiff, Grinding, or Loose Handle
Mineral scale encrusting the cartridge stem makes turning the lever difficult. Forcing a stiff handle often strips the plastic handle adapter broach or snaps the internal stem entirely.
How to Identify Your Shower Valve Brand & Cartridge Model
Before purchasing replacement parts, you must identify the exact manufacturer. Cartridges are proprietary and not interchangeable across brands. Use this identification matrix:
| Manufacturer | Common Cartridge Models | Distinct Physical Characteristics |
|---|---|---|
| Moen | 1225 (Brass), 1222 (Posi-Temp), 1200 | Secured with an exterior brass “U-clip” inserted vertically from the top of the valve body. Posi-Temp 1222 rotates only; 1225 pulls out to start flow. |
| Delta | RP19804 (pre-2006 1300/1400), RP46073 (MultiChoice) | Secured by a brass threaded bonnet nut. White/blue or white/gray body; seats and springs sit under the cartridge in older ball/stem assemblies. |
| Kohler | GP77759, GP800820, Rite-Temp series | Usually black or bright yellow plastic balancing caps with a separate pressure-balancing unit behind the mixer cap. |
| Pfister (Price Pfister) | 974-042 (OX8 / standard), 974-291 | Long cylindrical brass or white plastic stem; threaded collar holds cartridge body inside the cast brass housing. |
| Symmons | T-10 (Temptrol brass spindle) | Solid brass spindle requiring a special dome nut wrench (T-19/20) and seat removal tool (T-35) to service. |
Pro Tip: If there is no manufacturer branding stamped on the front escutcheon plate, take a clear photo of the bare cartridge stem (counting the spline notches on the brass tip) and compare it against the replacement chart at your local hardware supply counter.
Tools & Materials You’ll Need
Essential Tools
- Set of hex/Allen wrenches (standard 7/64″ or 3/32″ for set screws)
- Phillips and flathead screwdrivers
- Adjustable channel-lock pliers or strap wrench
- Needle-nose pliers
- Small wire brush or nylon detail brush
- Flashlight or headlamp
Materials & Specialty Gear
- OEM replacement cartridge (with matching O-rings/grommets)
- Food-grade silicone plumber’s grease (never use petroleum jelly)
- Distilled white vinegar (for mineral scale removal)
- Brand-specific cartridge puller tool (strongly recommended for Moen valves)
- Old washcloth or painter’s tape to block the tub drain
Step-by-Step DIY Cartridge Replacement Workflow
- Shut Off the Water Supply: Turn off your home’s main water supply or close the screwdriver service stops located behind the trim plate. Open a lower faucet in the home and run the shower until water ceases flowing completely.
- Block the Drain Opening: Cover the drain completely with a towel or washcloth. This prevents tiny set screws, retaining clips, or O-rings from falling down into the P-trap.
- Remove the Handle & Trim: Locate the set screw on the underside of the handle (using a hex key) or pry off the index button to expose the central screw. Slide the handle off, unscrew the decorative escutcheon plate, and pull away the sleeve collar.
- Remove the Retaining Mechanism:
- For Moen: Use needle-nose pliers to pull the flat brass U-clip straight up out of its retention slot. Keep it safe.
- For Delta / Kohler / Pfister: Use channel-lock pliers to unscrew the round brass bonnet nut counterclockwise. Be careful not to squeeze so hard that you deform the thin brass ring.
- Extract the Old Cartridge: Grip the cartridge stem firmly with pliers and pull straight outward while applying light twisting back-and-forth movement. If replacing a Moen 1200/1225 or 1222, use a dedicated cartridge puller tool to break the mineral adhesion before pulling.
- Clean the Brass Valve Cavity: Shine a light inside the empty valve body. Scrub the internal brass chamber walls with a nylon brush soaked in white vinegar to clear all calcium deposits, copper shavings, and degraded rubber remnants. Flush with a cup of water.
- Lubricate & Seat the New Cartridge: Coat the new rubber O-rings and exterior seals generously with silicone plumber’s grease. Orient the cartridge correctly (look for the “H/C” or “HOT SIDE” indicator pointing toward your hot water line on the left) and slide it fully into the valve chamber until seated flush.
- Reinstall Clip / Nut & Test: Re-insert the brass retaining clip or thread the bonnet nut back into place until hand-tight plus a quarter turn with pliers. Turn on the main water supply slowly and inspect for leaks around the stem before reattaching the decorative trim plate and handle.
⚠️ What to Do if the Cartridge is Frozen / Stuck
CRITICAL SAFETY WARNING: Never use a claw hammer, crowbar, or violent rocking motions to yank a stuck cartridge. The brass valve body inside your wall is connected to relatively soft 1/2-inch copper or PEX tubing. Applying excessive torque can twist the supply pipes, cracking solder joints or snapping pipe couplings inside the wall, causing an immediate flood.
If the cartridge refuses to budge:
- Spray penetrating lubricant (like PB Blaster or WD-40 Specialist) into the perimeter gap around the cartridge cylinder and let it soak for 20–30 minutes.
- Use a specialized mechanical cartridge puller tool (available at any home center). The puller threads into the stem and pushes against the outer rim of the valve body, extracting the cartridge squarely without placing twisting torque on the wall pipes.
- If the plastic stem shears off leaving the outer cylinder sleeve lodged inside the valve body, do not chisel blindly into the brass chamber. At this stage, professional extraction tools are required to prevent scoring the internal valve bore.
When to Call a Licensed Plumber
While standard cartridge replacement is a manageable DIY job, certain conditions make calling a professional the safest choice:
❌ Full Valve Body Replacement Required
If the internal brass bore of your valve body is deeply scored, pitted, or cracked from age, a new cartridge will not create a watertight seal. Replacing the entire rough-in valve requires cutting into drywall or access panels, removing the old assembly, and sweating (soldering) or crimping new lines inside a confined wall space.
❌ Severely Corroded Bonnet Nuts & Twisted Lines
In older homes with hard water, brass bonnet nuts can weld themselves to the valve threads through galvanic corrosion. Attempting to force them off without professional induction heat or specialty cutters risks breaking the supply manifold behind your tile.
Where to Find Qualified Local Plumbing Specialists Across the USA
As an independent diagnostic and educational blog, showerplumber.help does not operate a plumbing contracting service or dispatch technicians. If your valve replacement requires in-wall cutting, soldering, or professional extraction, use these reputable resources to verify and hire licensed professionals:
1. Official State Licensing Portals
Verify that any hired contractor holds an active Journeyman or Master Plumber license with current general liability coverage. In states like California (CSLB), Texas (TSBPE), or Florida (DBPR), you can run an instant license check online before booking.
2. National Trade Associations
Consult directories maintained by the Plumbing-Heating-Cooling Contractors Association (PHCC) or the Mechanical Contractors Association of America (MCAA), which list vetted contractors adhering to high industry training and safety standards.
3. Verified Review Networks
Use platforms like Google Maps (Local Services / Google Guaranteed), Better Business Bureau (BBB), and Angi to review customer feedback, check upfront pricing policies, and confirm warranty terms on valve installations.
Explore Related Troubleshooting Guides
Encountering broader bathroom plumbing challenges? Check our companion walkthroughs: