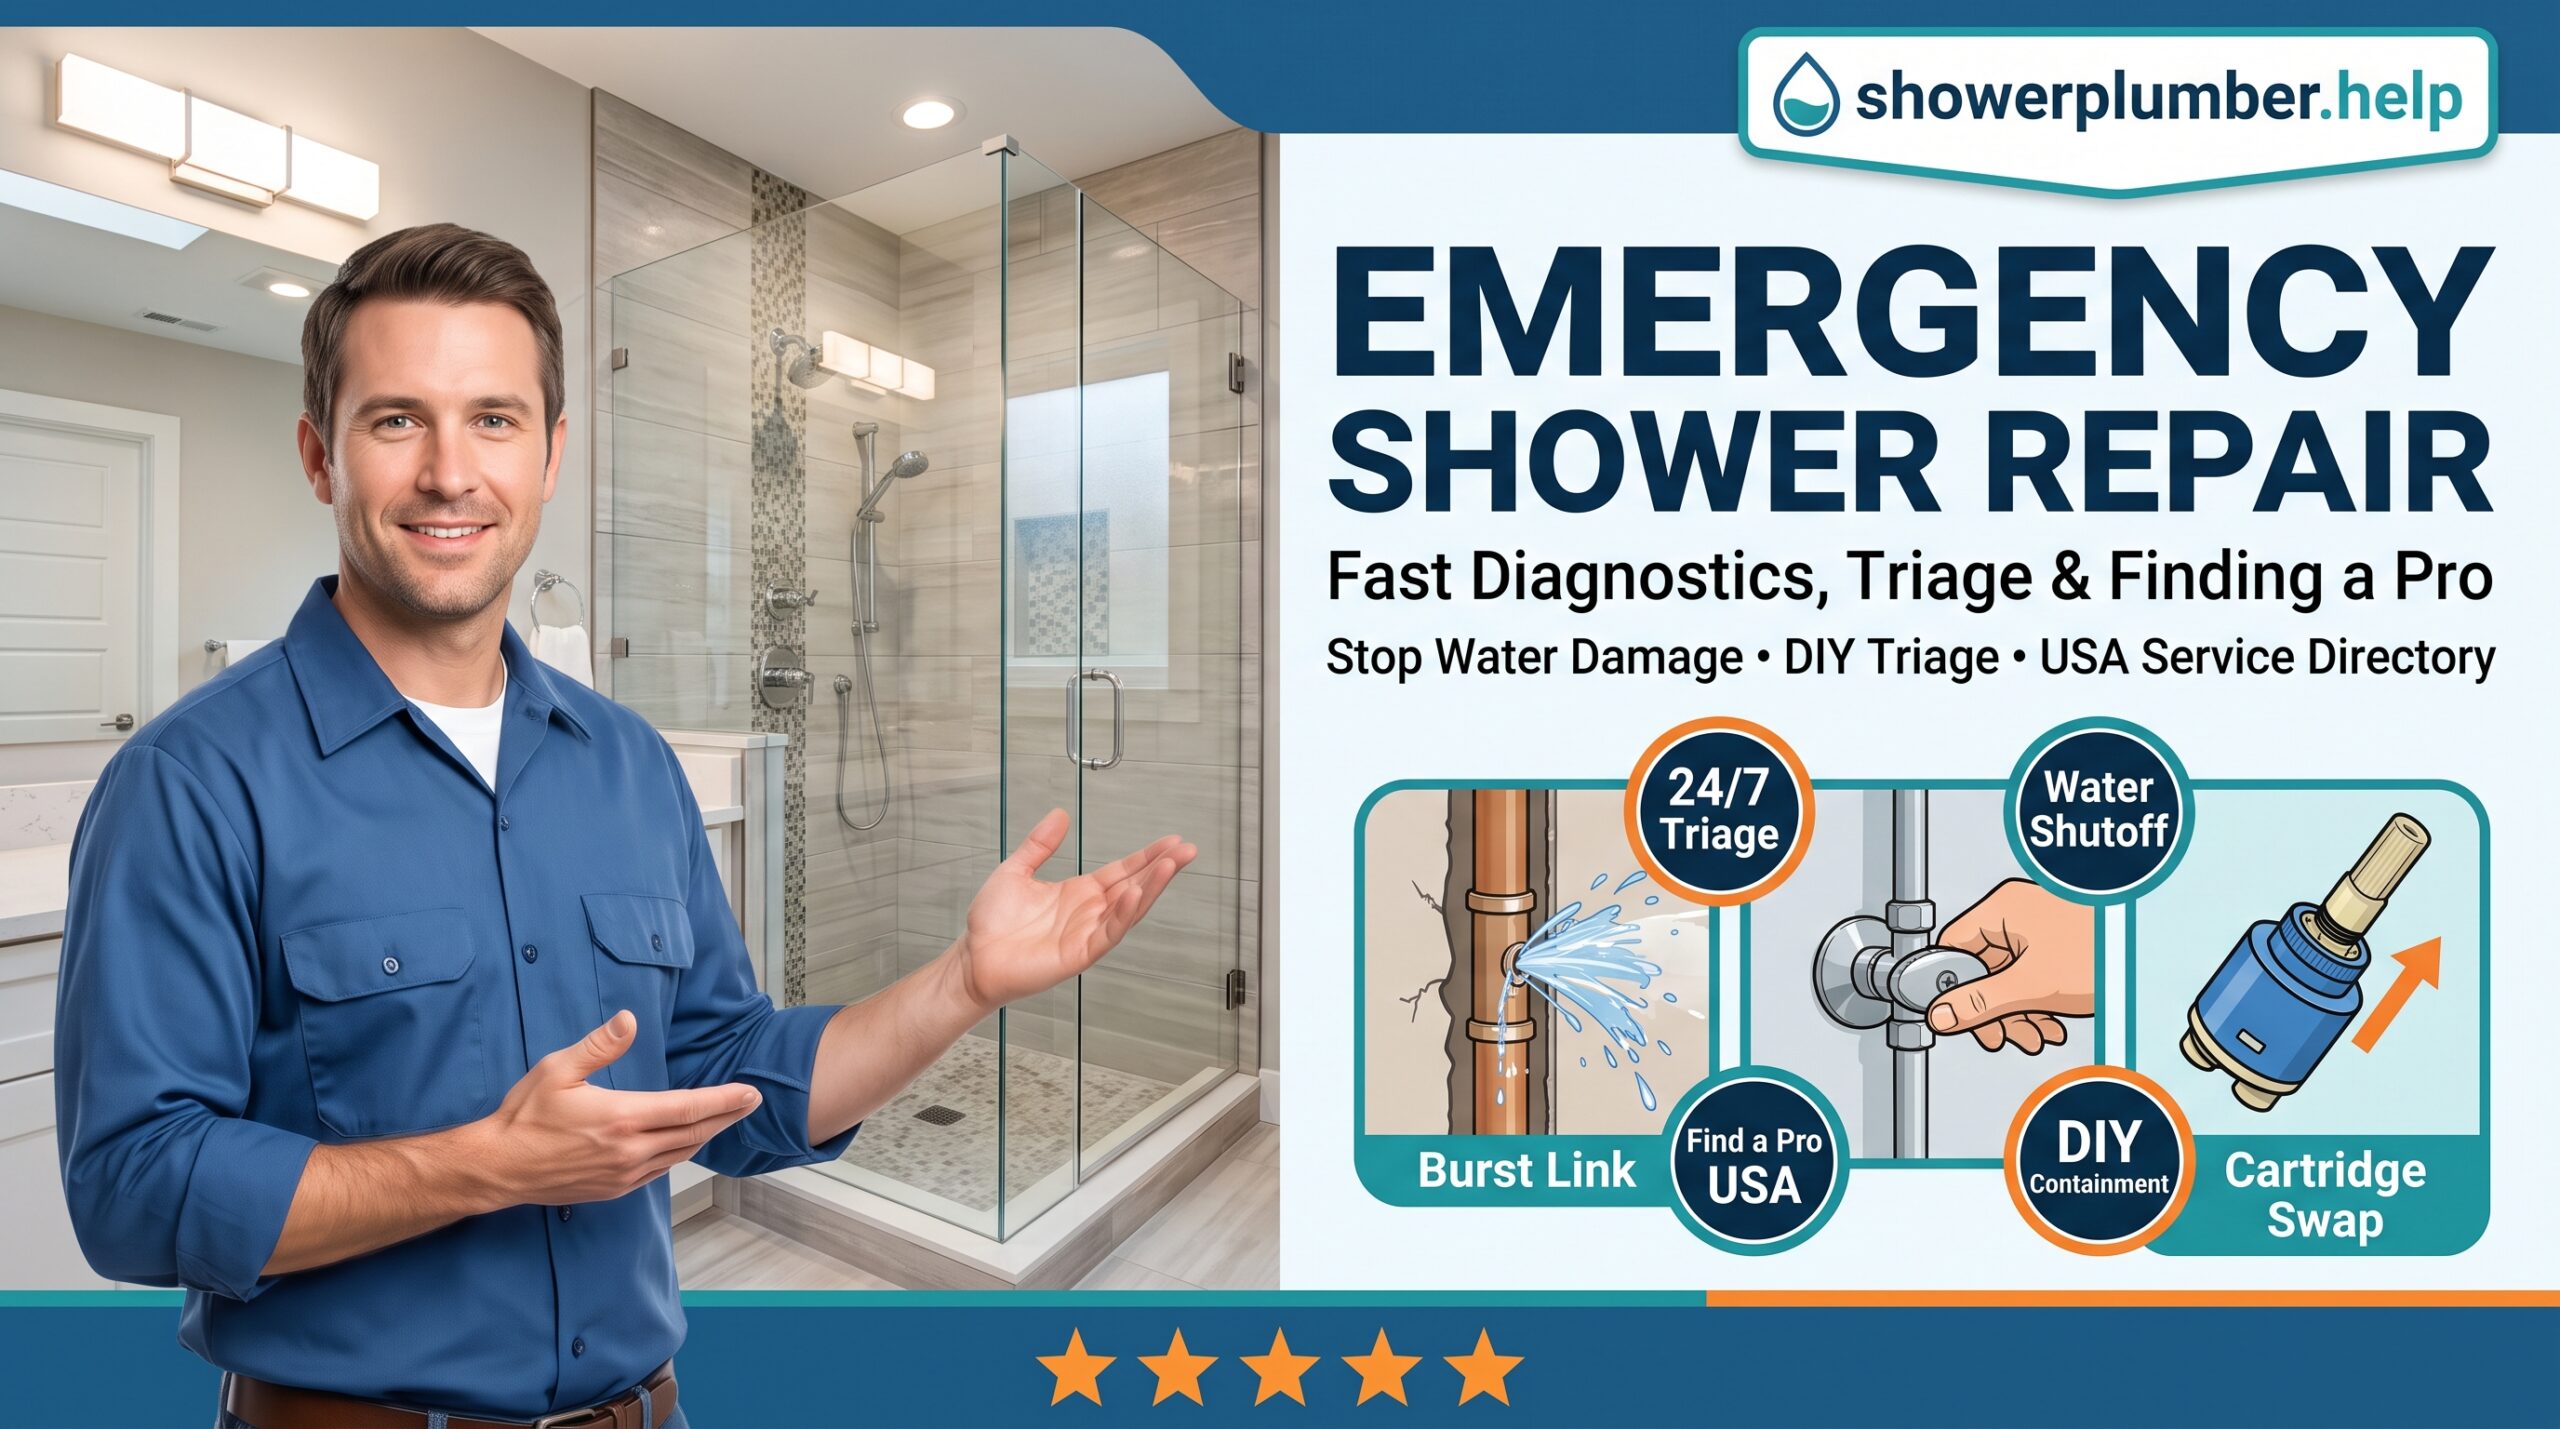
A shower emergency can escalate quickly. Whether water is gushing behind your tile, your shower handle has snapped completely off with water running, or an unidentifiable leak is dripping through the ceiling below, immediate action is required to prevent thousands of dollars in structural rot, drywall destruction, and toxic mold growth.
This comprehensive emergency guide covers your immediate 60-second triage protocol, step-by-step diagnostic workflows for common sudden failures, safe containment tactics, and a realistic checklist to determine whether you can fix it yourself or must hire a licensed, insured plumber in your area.
🚨 60-Second Emergency Triage: Stop Water Damage NOW
If you have water uncontrollably spraying or dripping through ceilings or walls, stop reading troubleshooting steps and follow these emergency containment rules immediately:
- Kill the Water Supply: If your shower valve lacks local service stops behind the trim plate, turn off your home’s main water shutoff valve immediately. In US homes, this is typically located in the basement near the front foundation wall, inside a utility closet near the water heater, or outside inside a ground-level meter box near the street curb.
- Relieve System Pressure: Open the lowest faucet in your home (often a basement utility sink or outside hose bib) and flush a toilet to drain residual pressurized water out of the vertical riser lines instead of letting it leak through the shower wall.
- Eliminate Electrical Hazards: If water has penetrated ceilings or floor joists near light fixtures or switches, switch off the corresponding circuit breakers at your main panel before touching wet surfaces.
- Contain and Clear Standing Water: Set down towels and buckets, and use a wet/dry shop vacuum to extract standing water from flooring before it penetrates subflooring or baseboards.
Top 4 Shower Emergencies: Causes & Solutions
1. Shower Won’t Shut Off Completely
The Cause: The internal cartridge stem has sheared, the handle’s plastic broach adapter is stripped, or mineral accumulation has seized the cartridge internal cam in an open position.
The Fix: Remove the handle set screw. If the plastic adapter is stripped, grip the bare brass cartridge stem with pliers and turn it clockwise to close the valve manually until a replacement cartridge can be installed.
2. Water Gushing Behind the Wall
The Cause: A cracked solder joint on the valve manifold, a failed PEX crimp ring on the shower riser, or a fractured brass drop-ear elbow where the shower arm connects.
The Fix: This is a pressurized piping failure. Immediately turn off the main water shutoff. Do not attempt to patch an in-wall pressurized water pipe with tape or epoxy; this requires mechanical pipe repair or re-soldering.
3. Sudden Scalding / Freezing Water Swings
The Cause: The pressure-balancing spool inside your mixing valve has frozen due to severe hard water sediment, preventing dynamic equalization between incoming hot and cold supplies.
The Fix: Remove the valve cartridge. Soaking the cartridge or balancing spool in distilled white vinegar can dissolve calcium deposits and restore shuttle movement, though cartridge replacement is usually the longest-lasting solution.
4. Snapped Shower Arm Pipe
The Cause: Excessive downward pressure (e.g., from an overloaded shower caddy) or metal fatigue causing the threaded male pipe to snap flush inside the wall fitting.
The Fix: Tap an internal pipe extractor into the broken fitting, grip it with an adjustable wrench, and back the broken threaded piece out of the drop-ear elbow without damaging the female threads.
DIY Emergency Repairs: Safe Step-by-Step Methods
If the emergency is confined to the fixture trim, handle, or cartridge, you can often stabilize the situation without specialized plumbing machinery.
Method A: Shutting Off Local Integrated Service Stops
Many modern US shower rough-in valves (including Moen, Delta, and Kohler models) come equipped with built-in screwdriver stops on both sides of the valve body:
- Loosen the handle screw (usually an Allen key or Phillips head hidden beneath a decorative cap) and take off the handle.
- Unscrew the two faceplate screws and gently pry the escutcheon plate away from the tile or fiberglass enclosure.
- Locate the two brass flathead screw slots positioned directly to the left and right of the central valve housing.
- Turn both screws clockwise with a flat-head screwdriver until they seat snugly. This shuts off water exclusively to the shower, allowing you to restore main water to the rest of the house.
Method B: Emergency Cartridge Extraction & Temporary Plug
If water continues to run or bypass the seal, replacing or temporarily sealing the cartridge is your next option:
- Ensure the main water supply is turned off and system pressure is vented through a lower faucet.
- Cover the shower drain with a washcloth to prevent screws and clips from falling down the pipe.
- Pull out the brass “U-clip” (on Moen valves) or unscrew the large bonnet nut (on Delta and standard valves) using an adjustable wrench.
- Use a dedicated cartridge puller tool to gently twist and pull the cartridge straight out. Avoid forcing or rocking side-to-side, which can distort the thin copper tubing behind the wall.
- Inspect the rubber seals and O-rings for tears or flattening. If you have a matching replacement, lubricate the new O-rings with silicone plumber’s grease, seat it firmly, replace the retaining clip, and slowly repressurize the line.
DIY vs. Professional: Where to Draw the Line
Knowing when to stop is the single most important skill in DIY plumbing. Use this quick reference guide before deciding whether to handle the job yourself or call an emergency trade professional:
| Repair Scenario | DIY Safe? | Recommended Action |
|---|---|---|
| Shower arm threaded joint leaking | ✅ Yes | Unthread, clean threads, apply fresh PTFE tape & pipe dope, re-seat. |
| Stripped handle / Broken lever | ✅ Yes | Manually turn stem with pliers; replace adapter kit or trim set. |
| Standard cartridge swap (unfrozen) | ✅ Yes | Shut water off, remove retaining clip/bonnet nut, pull and replace. |
| Riser pipe burst or soldered joint leak | ❌ No | Shut off main water valve immediately. Call a licensed plumber for in-wall pipe repair. |
| Brass cartridge seized solid in valve | ❌ No | Prying can twist and rupture internal supply lines. A pro uses heat or commercial pullers. |
| Water penetrating ceiling/floor joists | ❌ No | Requires professional leak tracing, pipe repair, and structural dry-out containment. |
Where to Find Reliable Local Plumbers Across the USA
When an emergency exceeds DIY bounds, hiring an experienced, licensed trade professional is the safest path forward. Because showerplumber.help is an independent educational blog, we do not partner with or dispatch contractors directly. Instead, we recommend using reputable directories and official verification platforms to source qualified local help:
1. Industry & Trade Associations
Trade groups enforce professional standards and ongoing training. The Plumbing-Heating-Cooling Contractors Association (PHCC) and Mechanical Contractors Association of America (MCAA) maintain member directories of vetted, licensed trade contractors across all 50 states.
2. Verified Review Directories
Platforms like Google Maps (Local Service Ads / Google Guaranteed), Angi, Better Business Bureau (BBB), and Yelp provide verified homeowner reviews, photo documentation of past repairs, and proof of active general liability insurance.
3. State Licensing Boards
Always verify active credentials on official state portals before work begins—such as the California CSLB, Texas TSBPE, or your state’s Department of Professional Regulation—to ensure the contractor holds an active Master or Journeyman license with bonded insurance.
4 Critical Questions to Ask Before Dispatch
- “What is your emergency trip or diagnostic fee?” (Most US emergency calls range from $75 to $250 for dispatch, often applied toward the total repair cost).
- “Are your technicians licensed and covered by general liability and workers’ comp?”
- “Do you stock common brand replacement cartridges on your dispatch trucks?” (Moen, Delta, Kohler, Symmons).
- “Do you provide upfront pricing before performing in-wall cutting or repairs?”
Explore Related Troubleshooting Guides
Dealing with a specific leak or looking for step-by-step part breakdowns? Browse our companion walkthroughs: